Glitch Study
Technological Exploration
Experimenting with glitch and the effects it can have in CAD and Image Manipulation
Process 1: Creating the Tree
Modeling
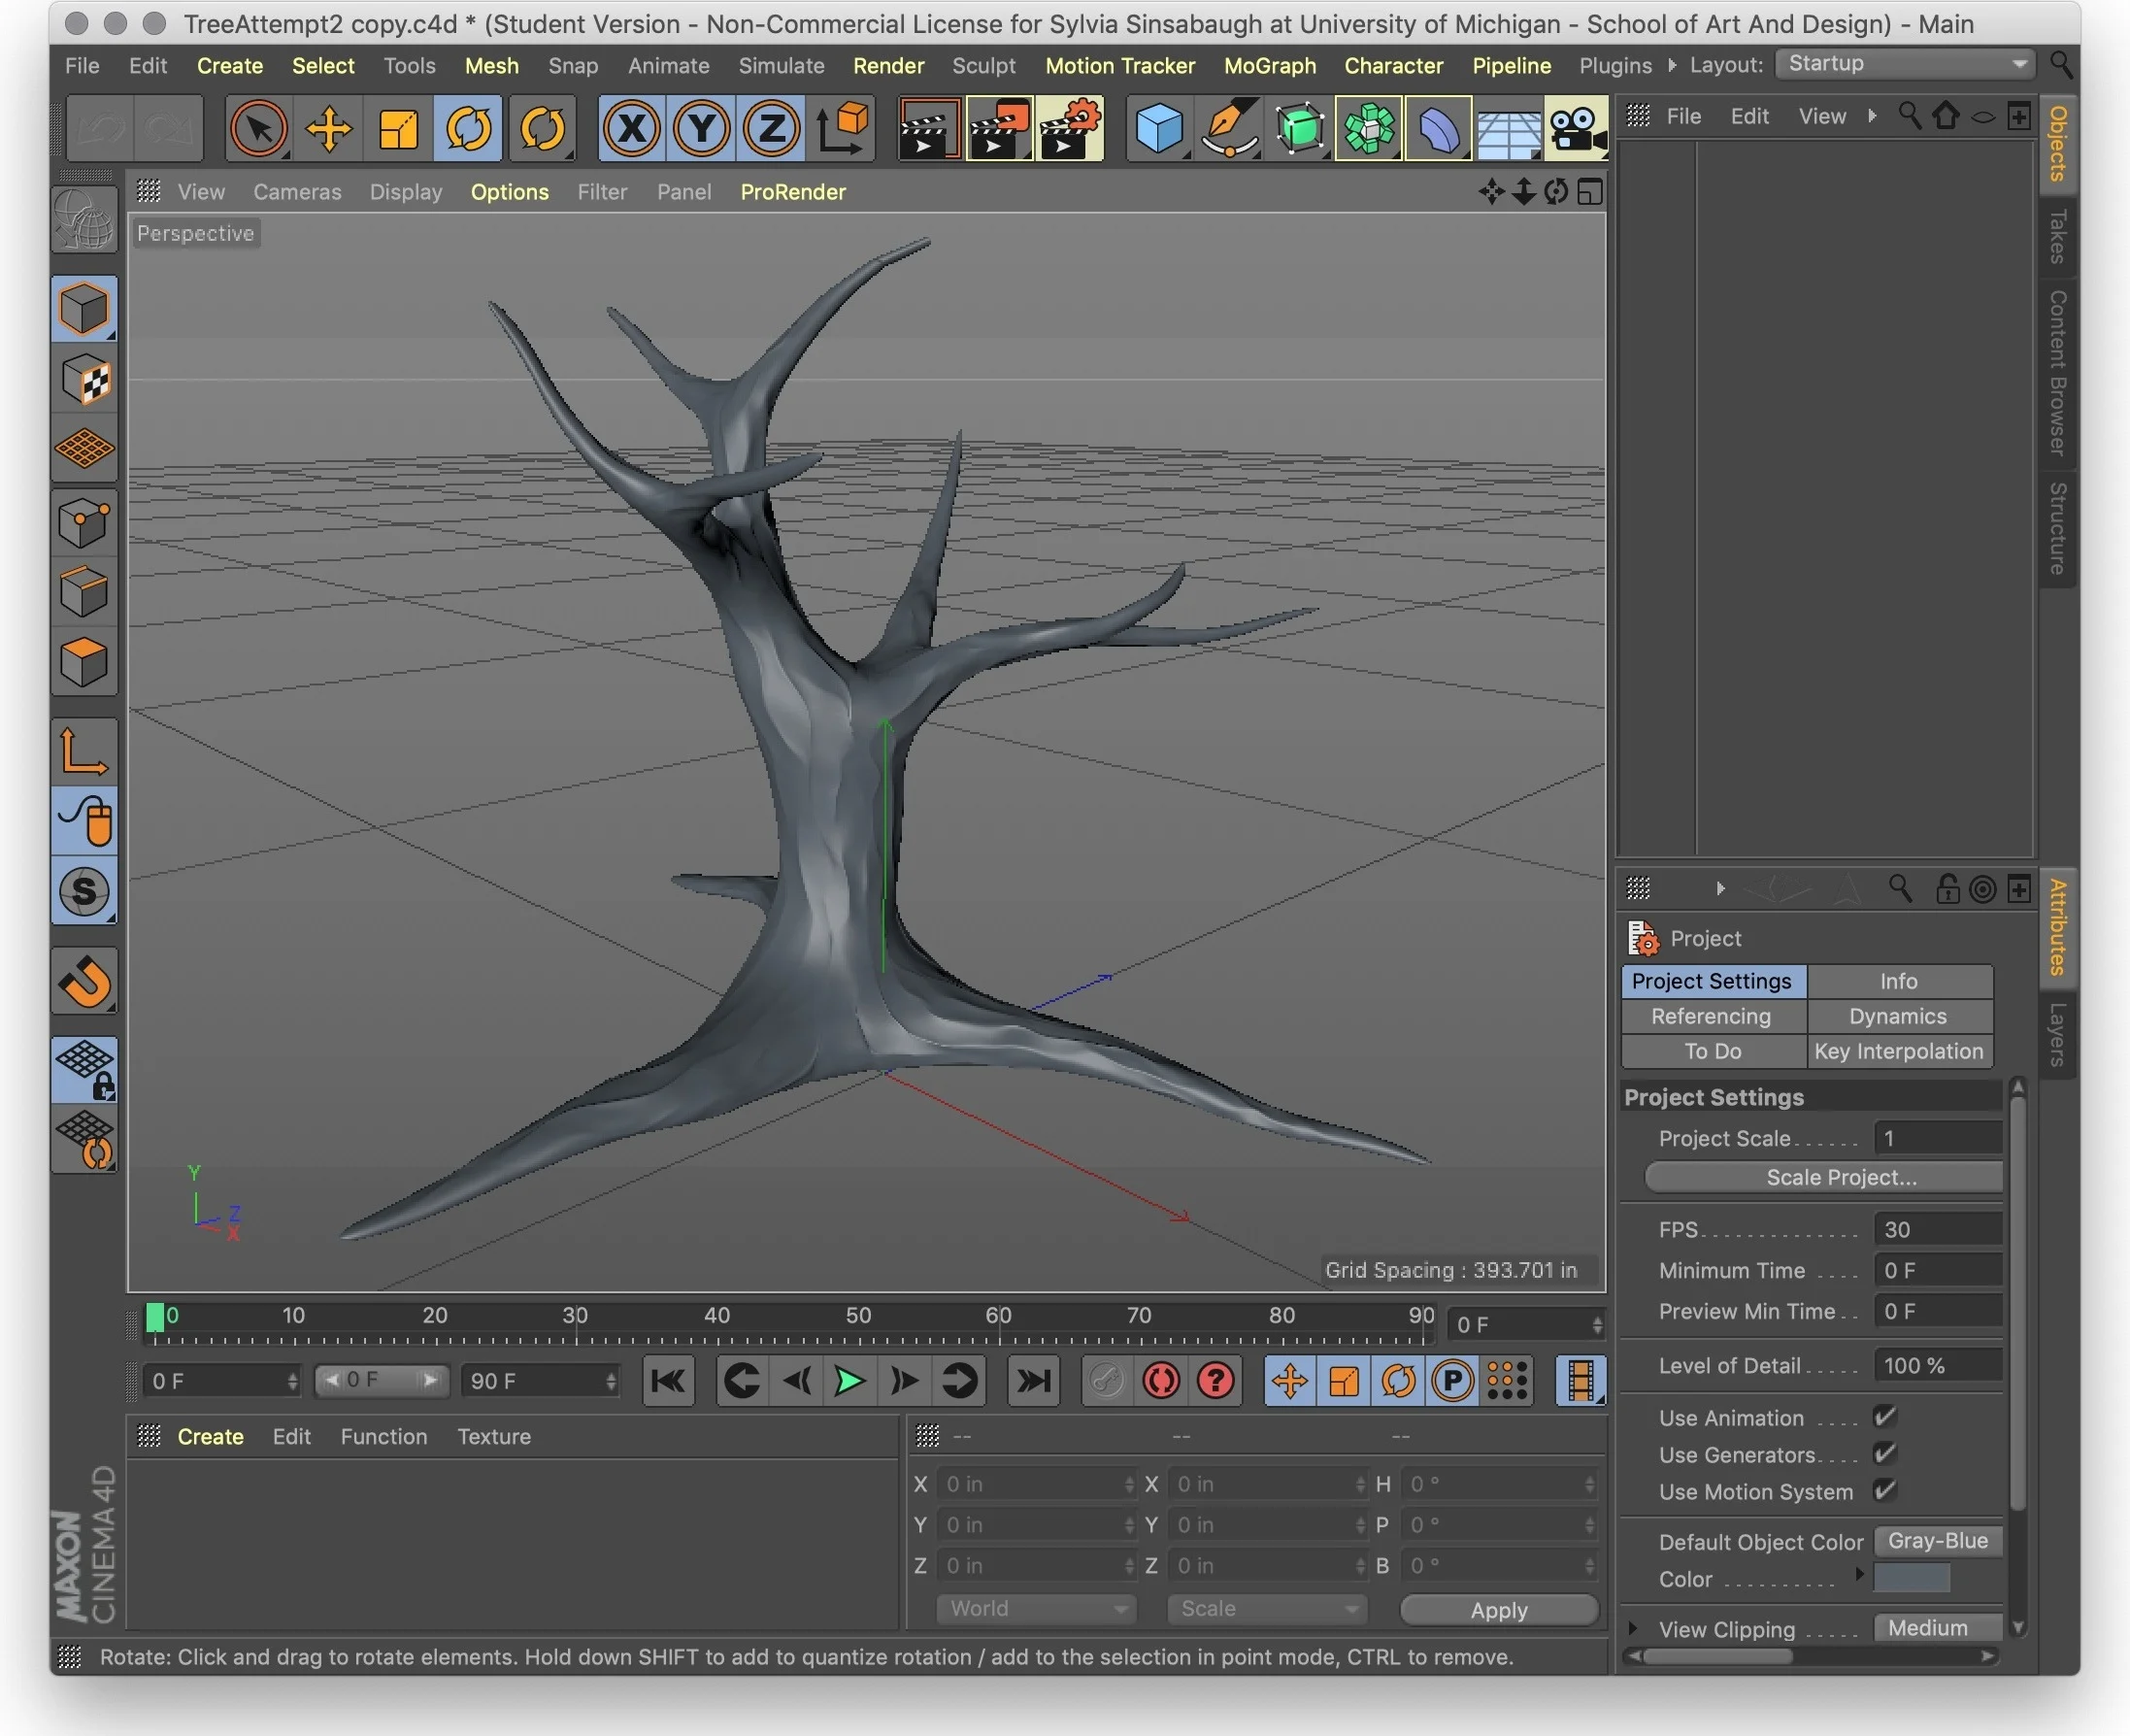
The process began by modeling the tree in Cinema 4D based on an initial sketch.
Sculpting
Once the base model was finished, I sculpted the details of the tree’s curved branches and bark.
Printing
I then used an SLA 3D printer to produce a final physical object.
Process 2: Glitching a 3D Model
After experimenting with what I could and could not manipulate, I ended up using an obj file. By opening the .obj file in a text editor, I was able to adjust the individual vertices of different random points.
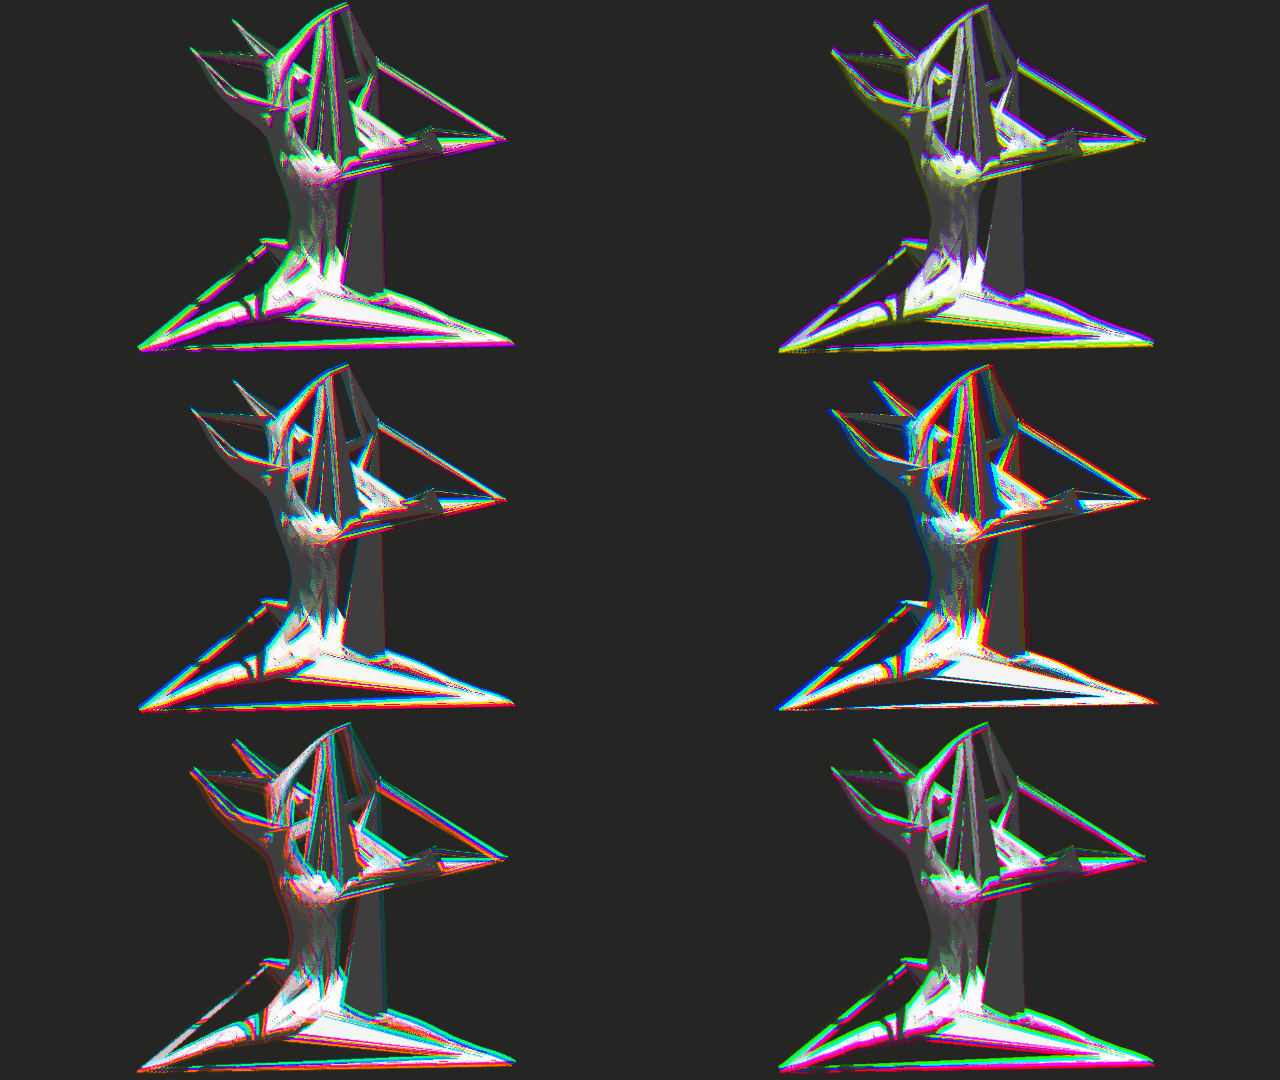
This resulted in a jagged, deformed tree.obj that I could only open in a few CAD programs. Using photoshop, I was able to capture a simple rendering of the final form.
Process 3: 2D Image Manipulation
In order to create interesting color effects for the 2D glitched photos, I needed to somehow incorporate color into the original rendering. I RGB color shifted the tree, giving the image enough color to work with. From there I was able to manipulate the text of the images and create new colorways.


