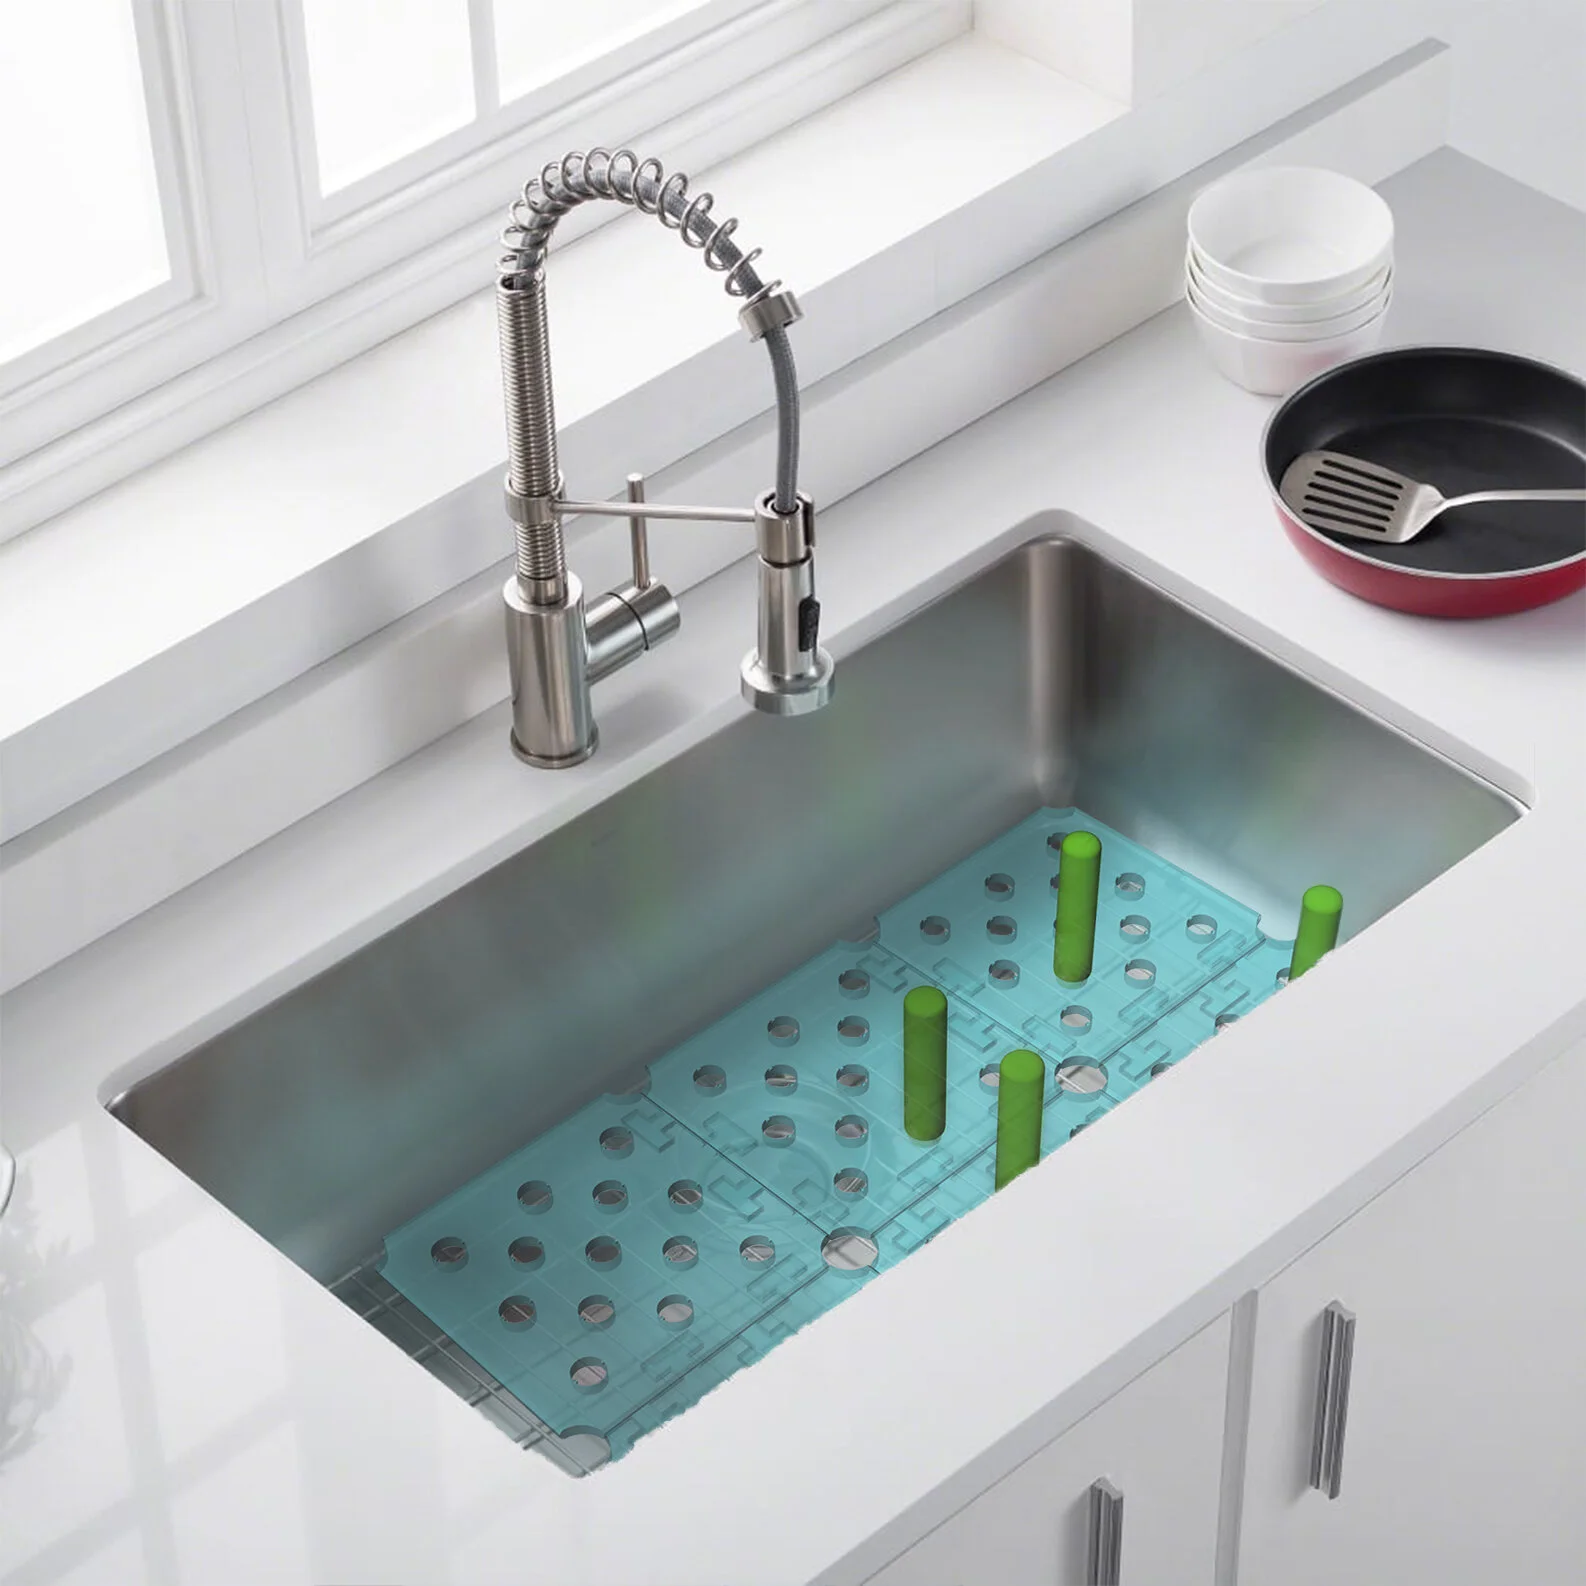
Sink Aid
Need-Based Product Design
Designing a tool to aid in one-handed kitchen needs and activities
The goal of this project was to design a tool to be used in the kitchen by people who only have the use of one hand. Rather than singling them out specifically, I wanted to design something that would help them, while also helping with kitchen tasks in general. By designing a tool that can be (but doesn’t have to be) used one-handed, not only does it help people who have limited mobility, it also improves kitchen experiences in general.
Problem Research
To gain a better understanding of the problem I was designing for, I tried making scrambled eggs one handed. I found that there were a lot of things in the actual cooking process that could be compensated for when working one-handed. The trickiest thing was trying to clean a pot. It kept slipping around and was difficult to scrub, so I decided to focus on that for the project.
Market Research
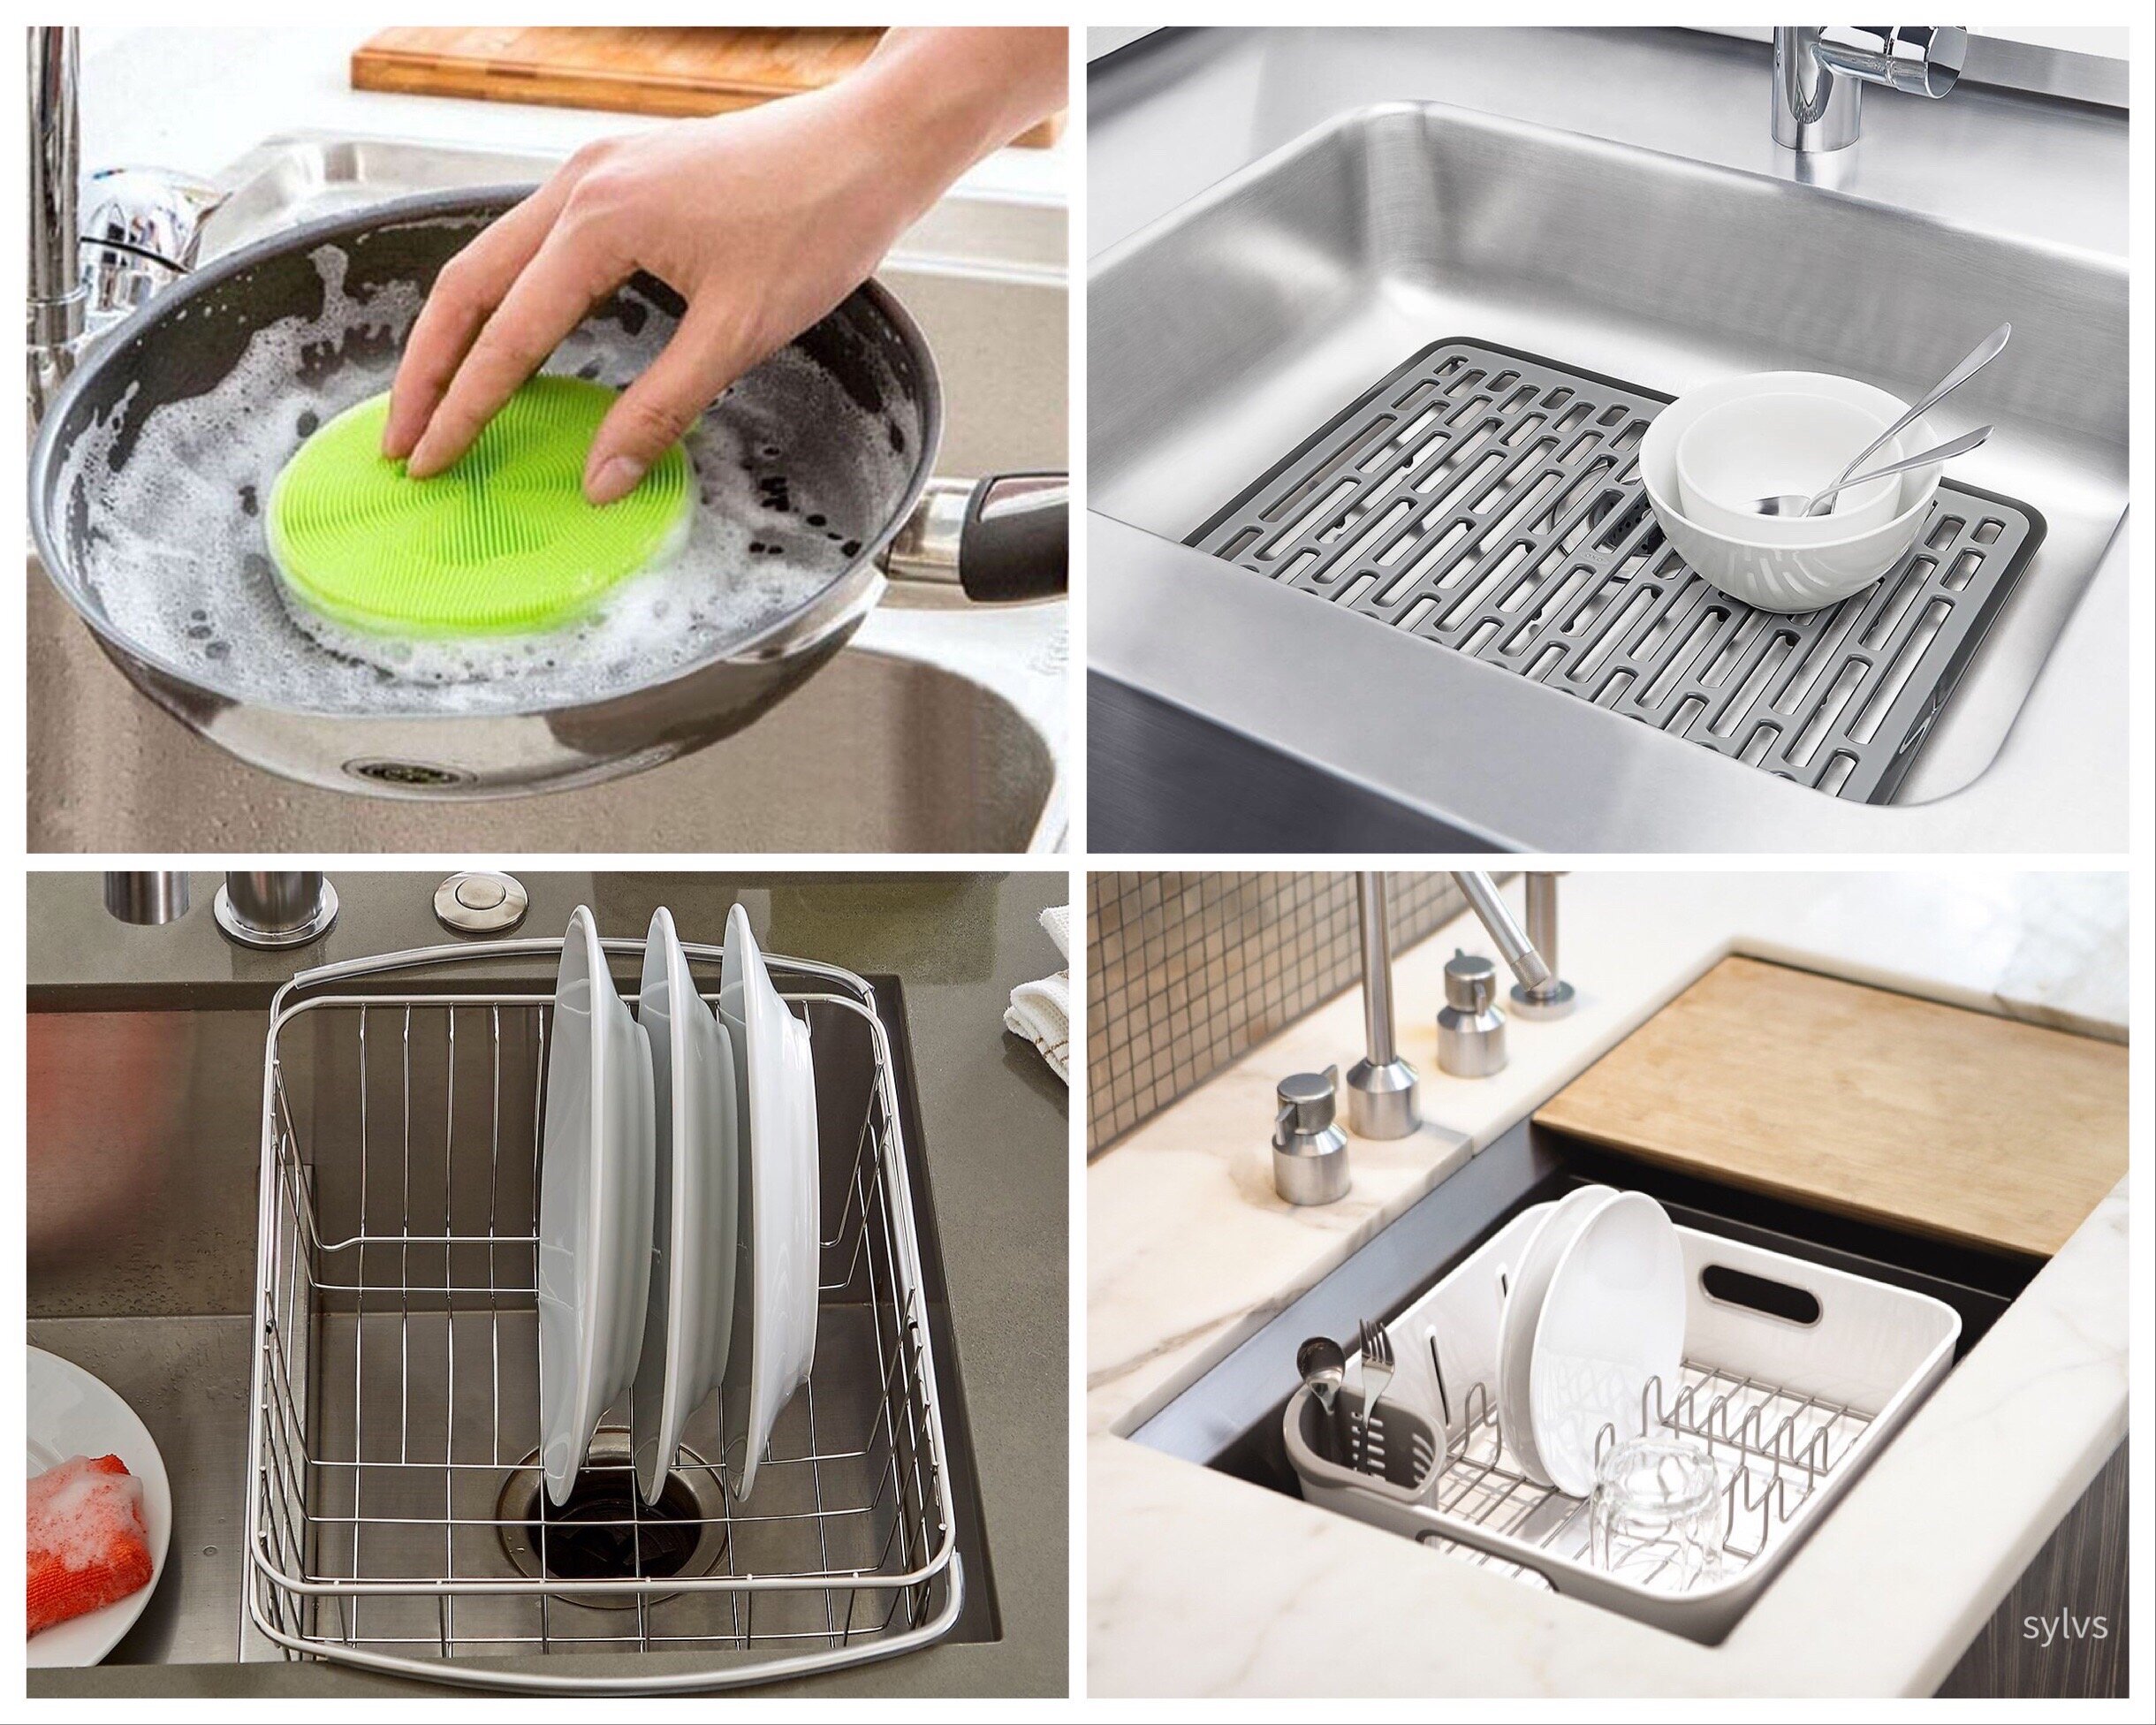
After quickly brainstorming a few solutions, I researched some of the solutions that were already out there. I quickly learned that, while there were many sink tools that helped hold dishes in place or make scrubbing easier, there weren’t many tools that helped with both.
Iterative Sketching
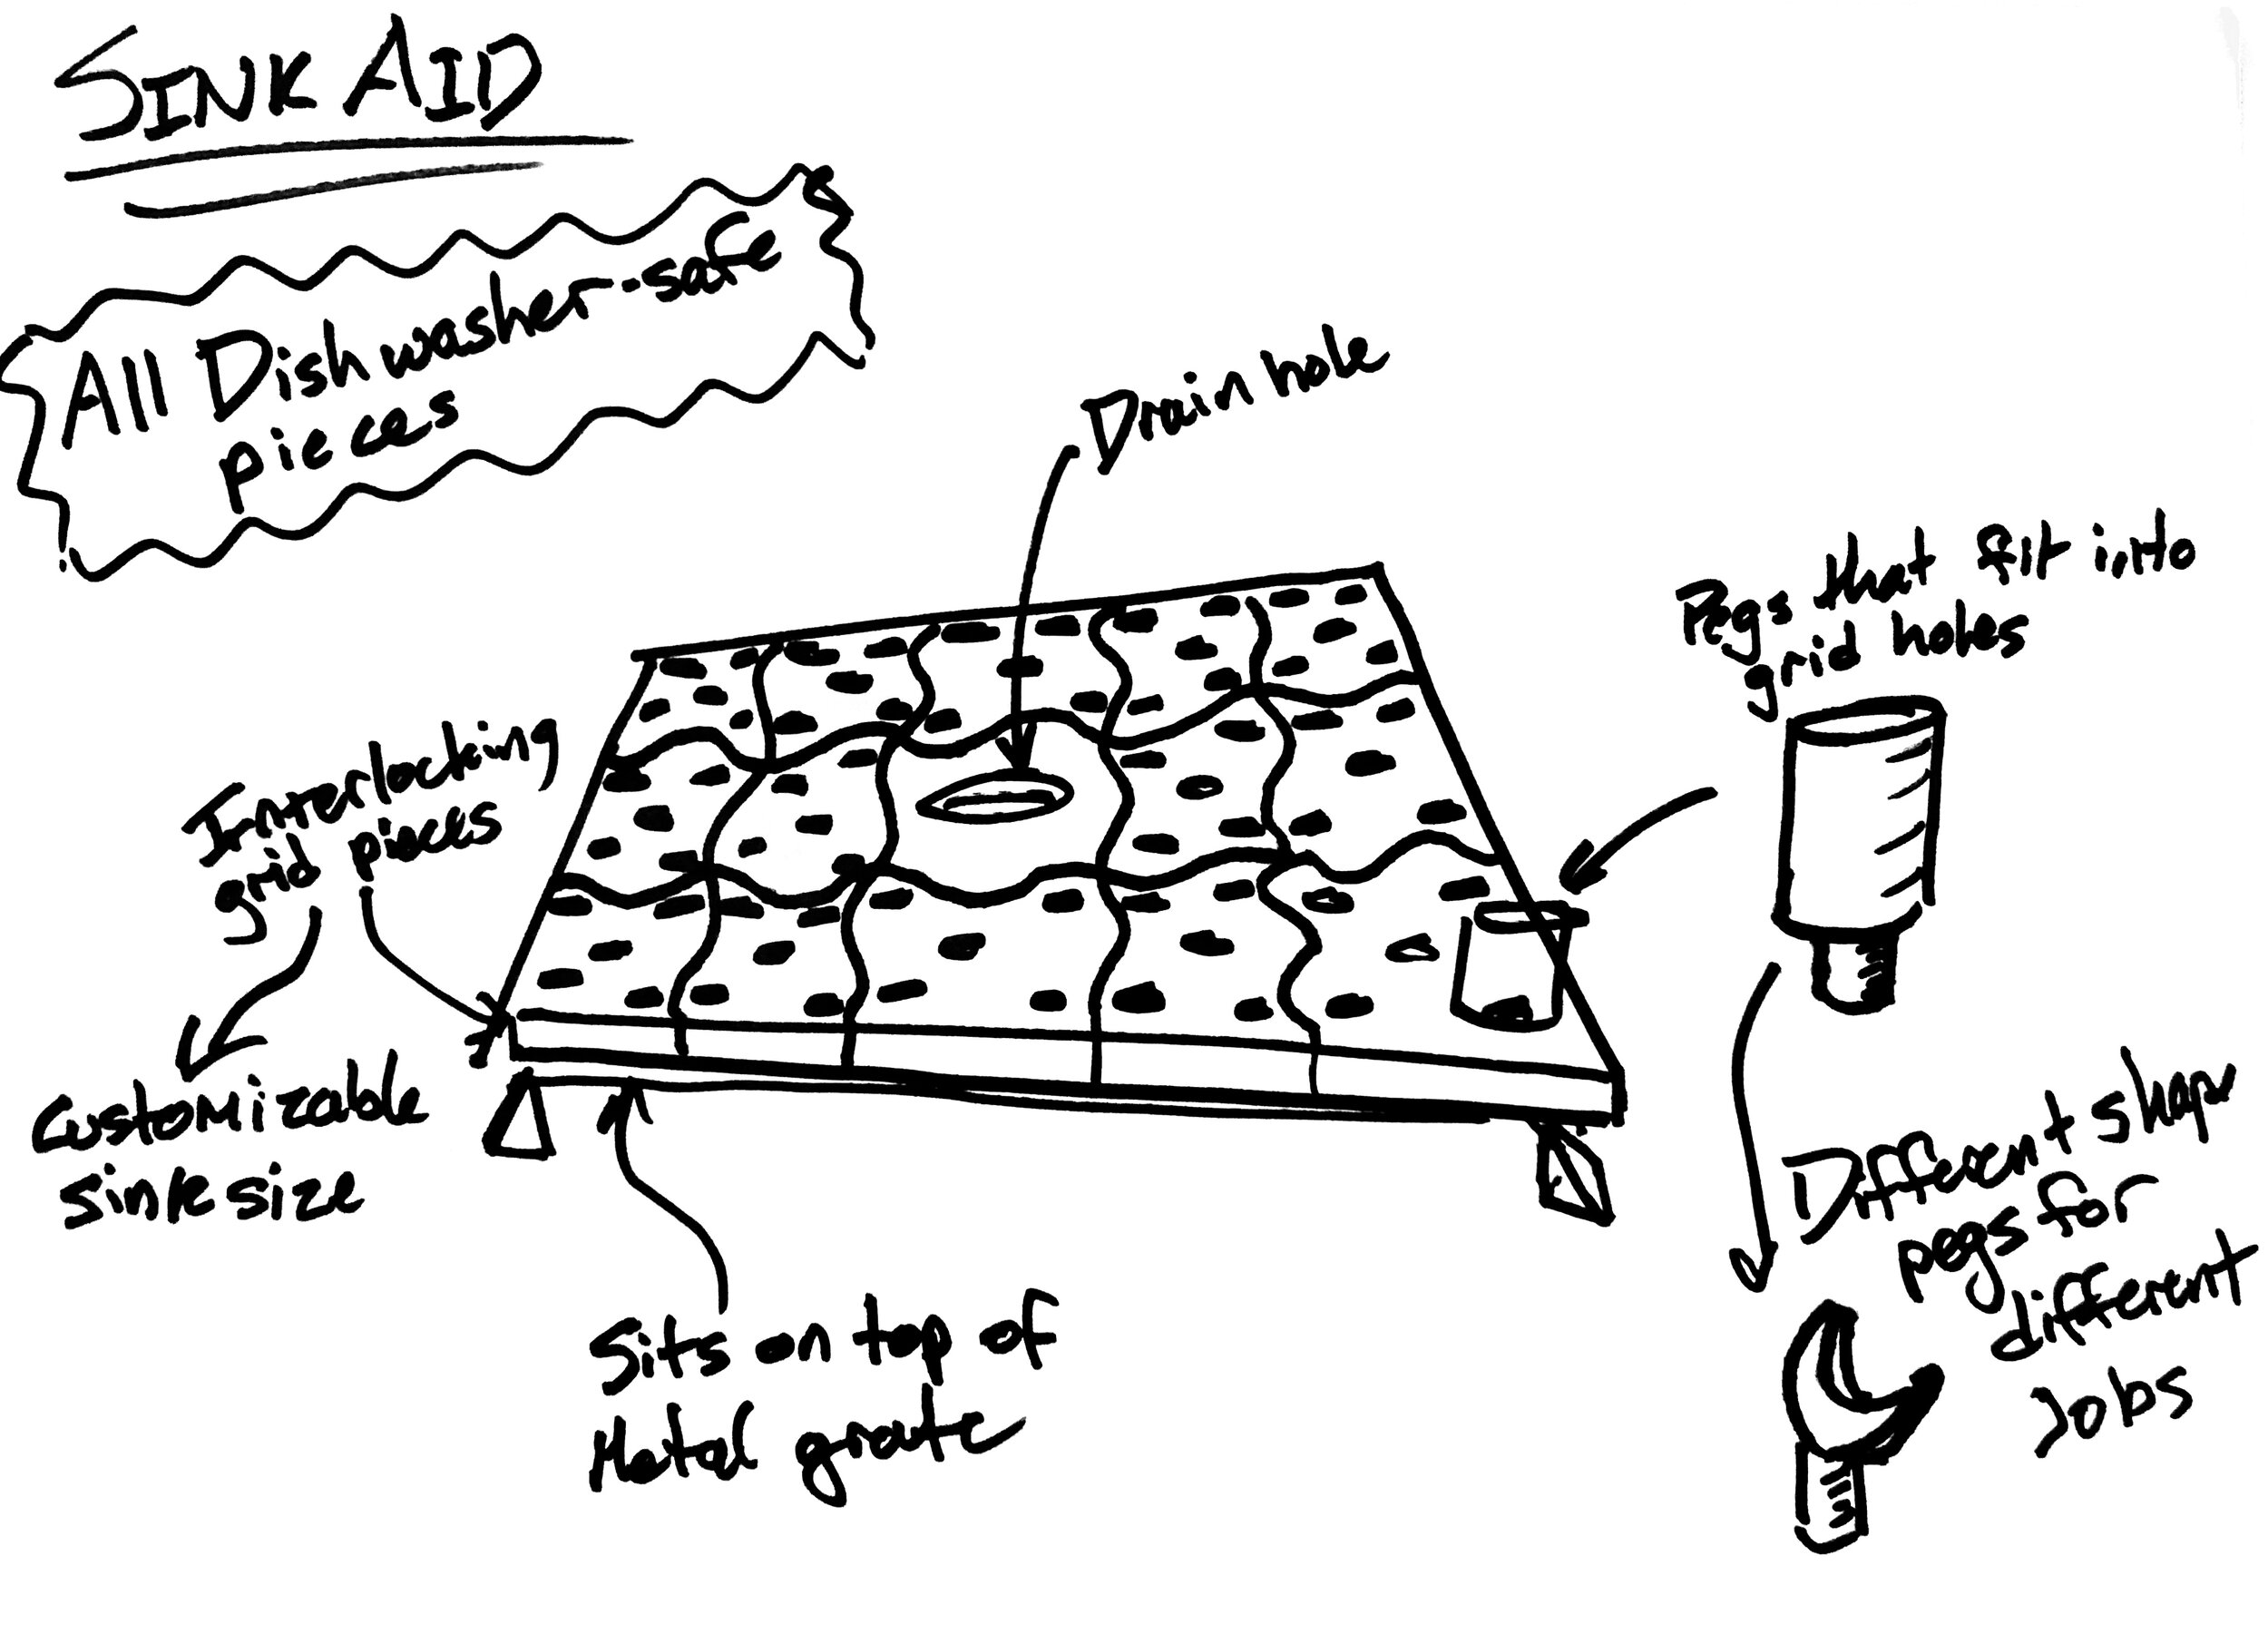
I went through many different sketches and ideas that I hoped might work before finally landing one that I was excited about and thought could be expanded upon.
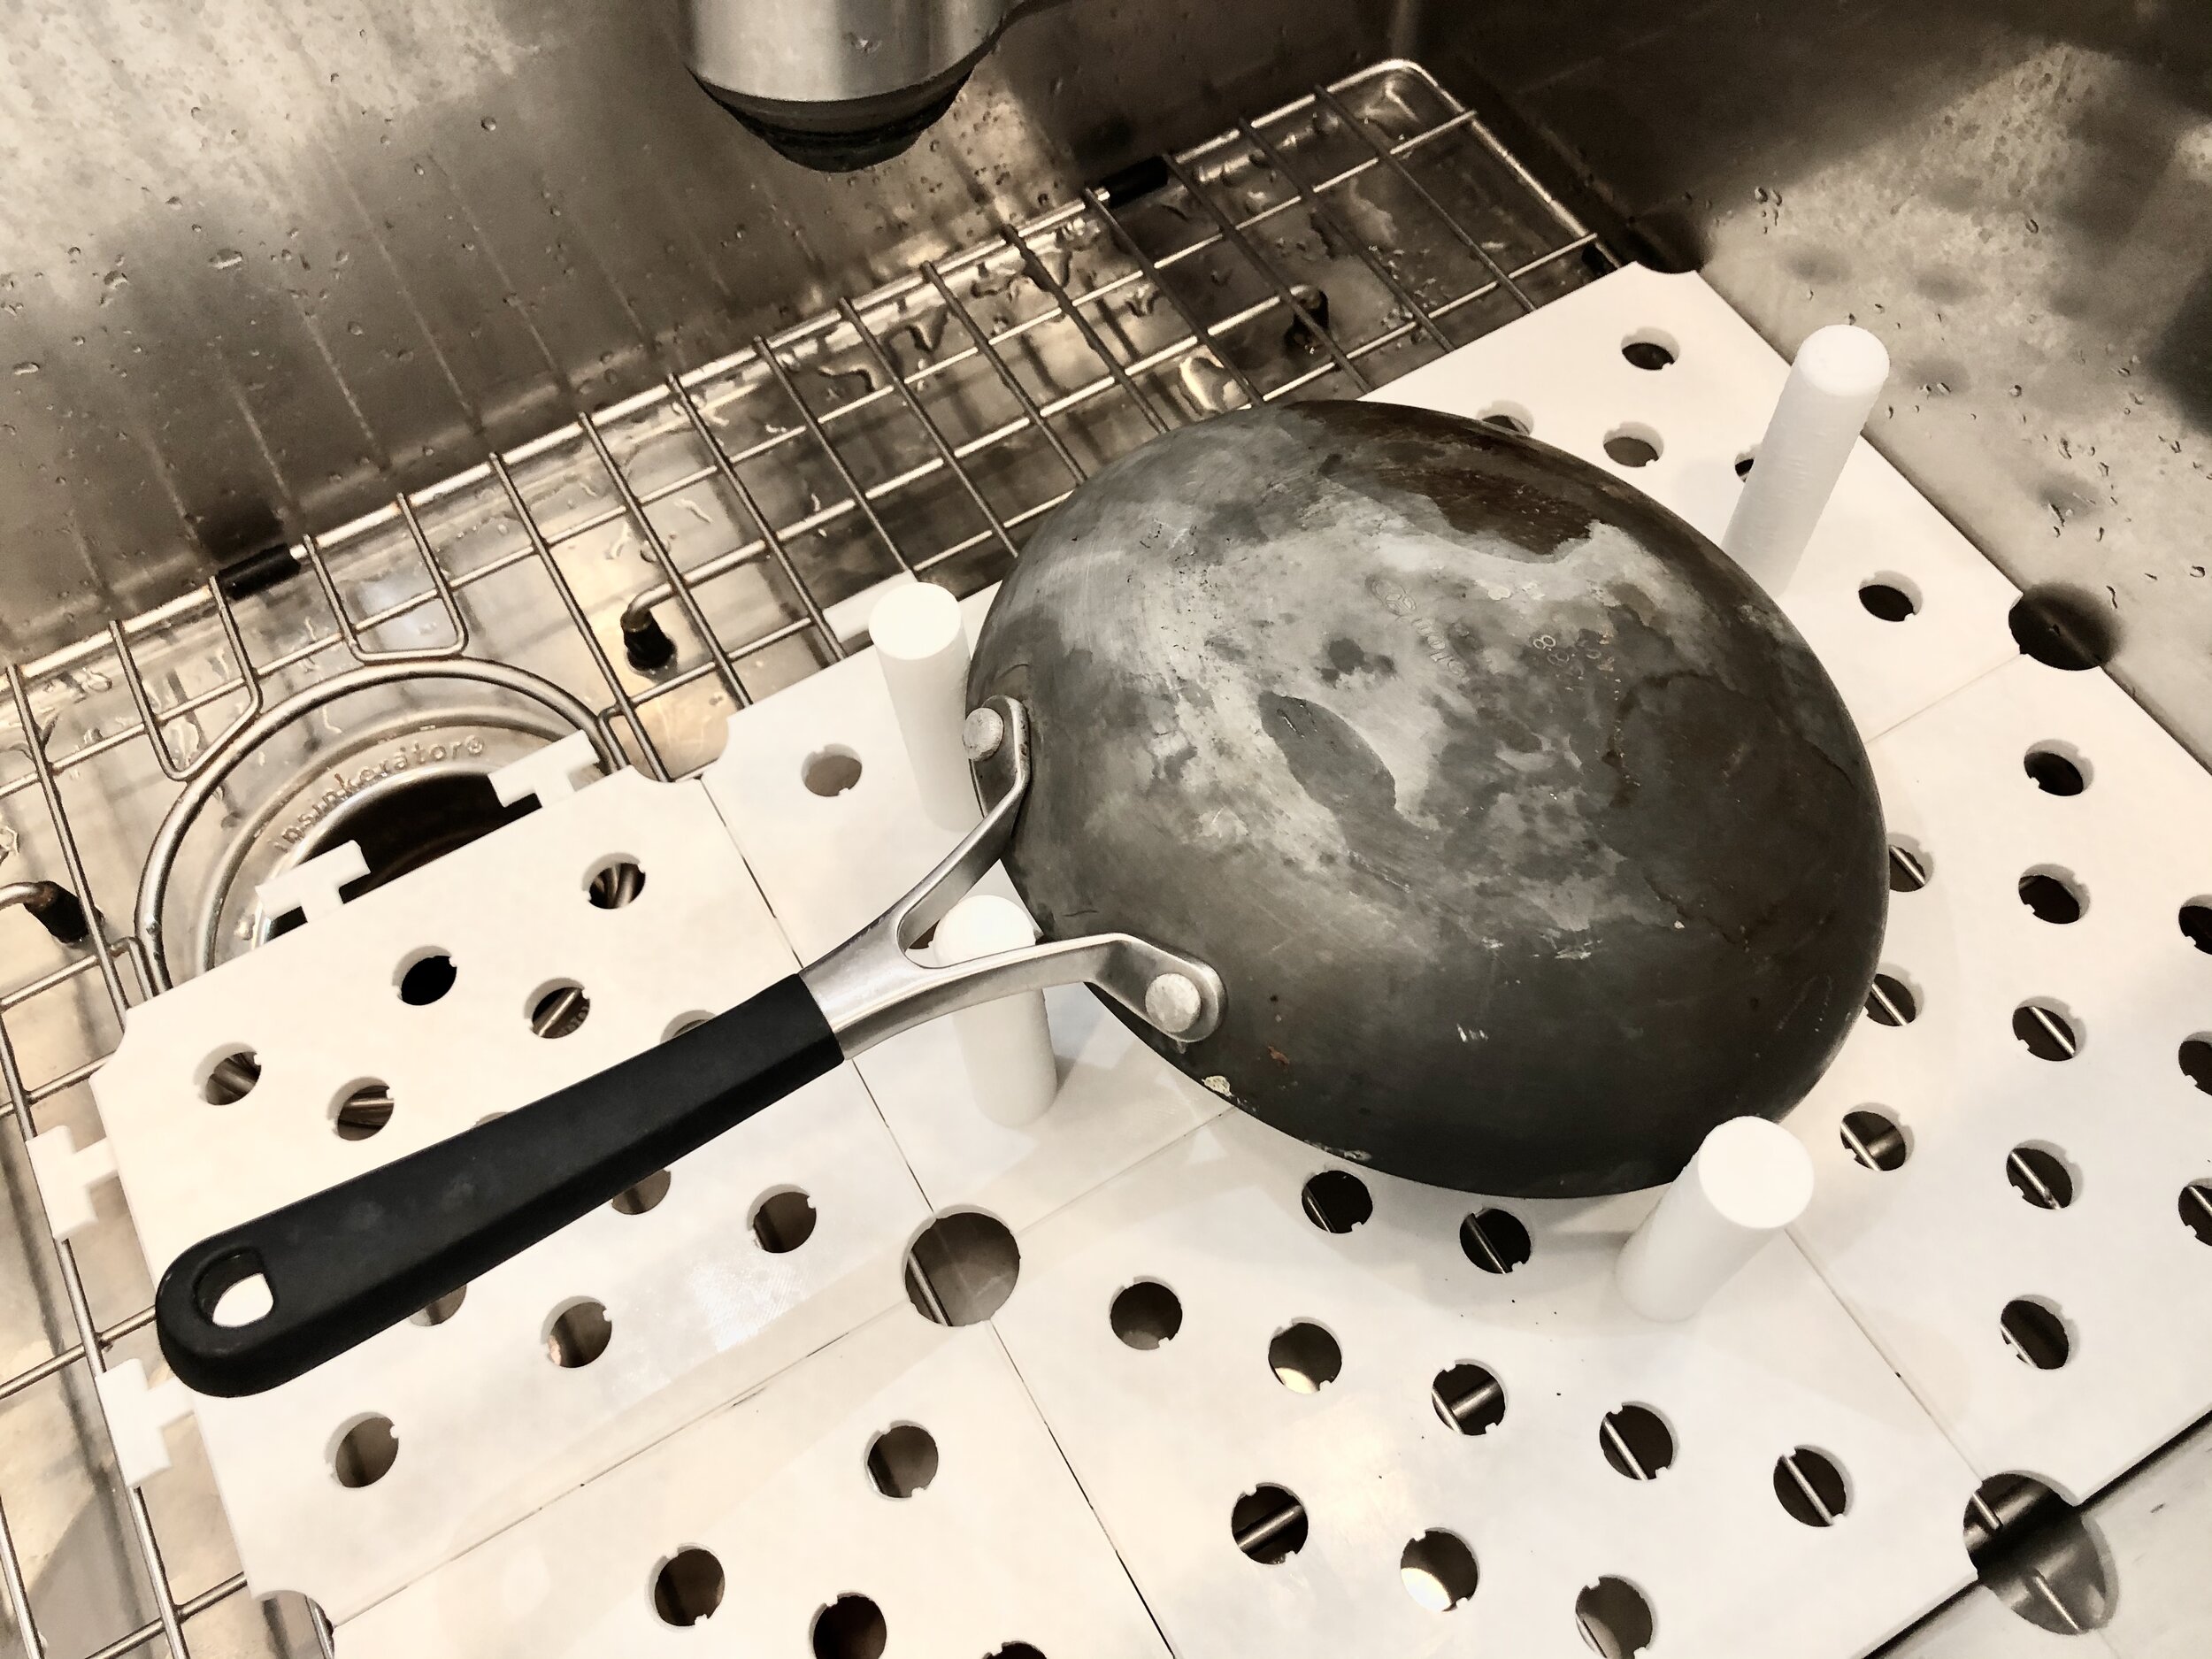
It was a sink mat made up of interlocking tiles so that it could be customized to fit different sink sizes. Within the tiles, there would be staggered holes that would fit a series of pegs with a simple locking mechanism. The pegs could come in different shapes and sizes and be easily moved to fit the shape of each dirty pan.
Each piece would be dishwasher safe, to make the cleaning of the product easy and painless.
Interlocking Tiles
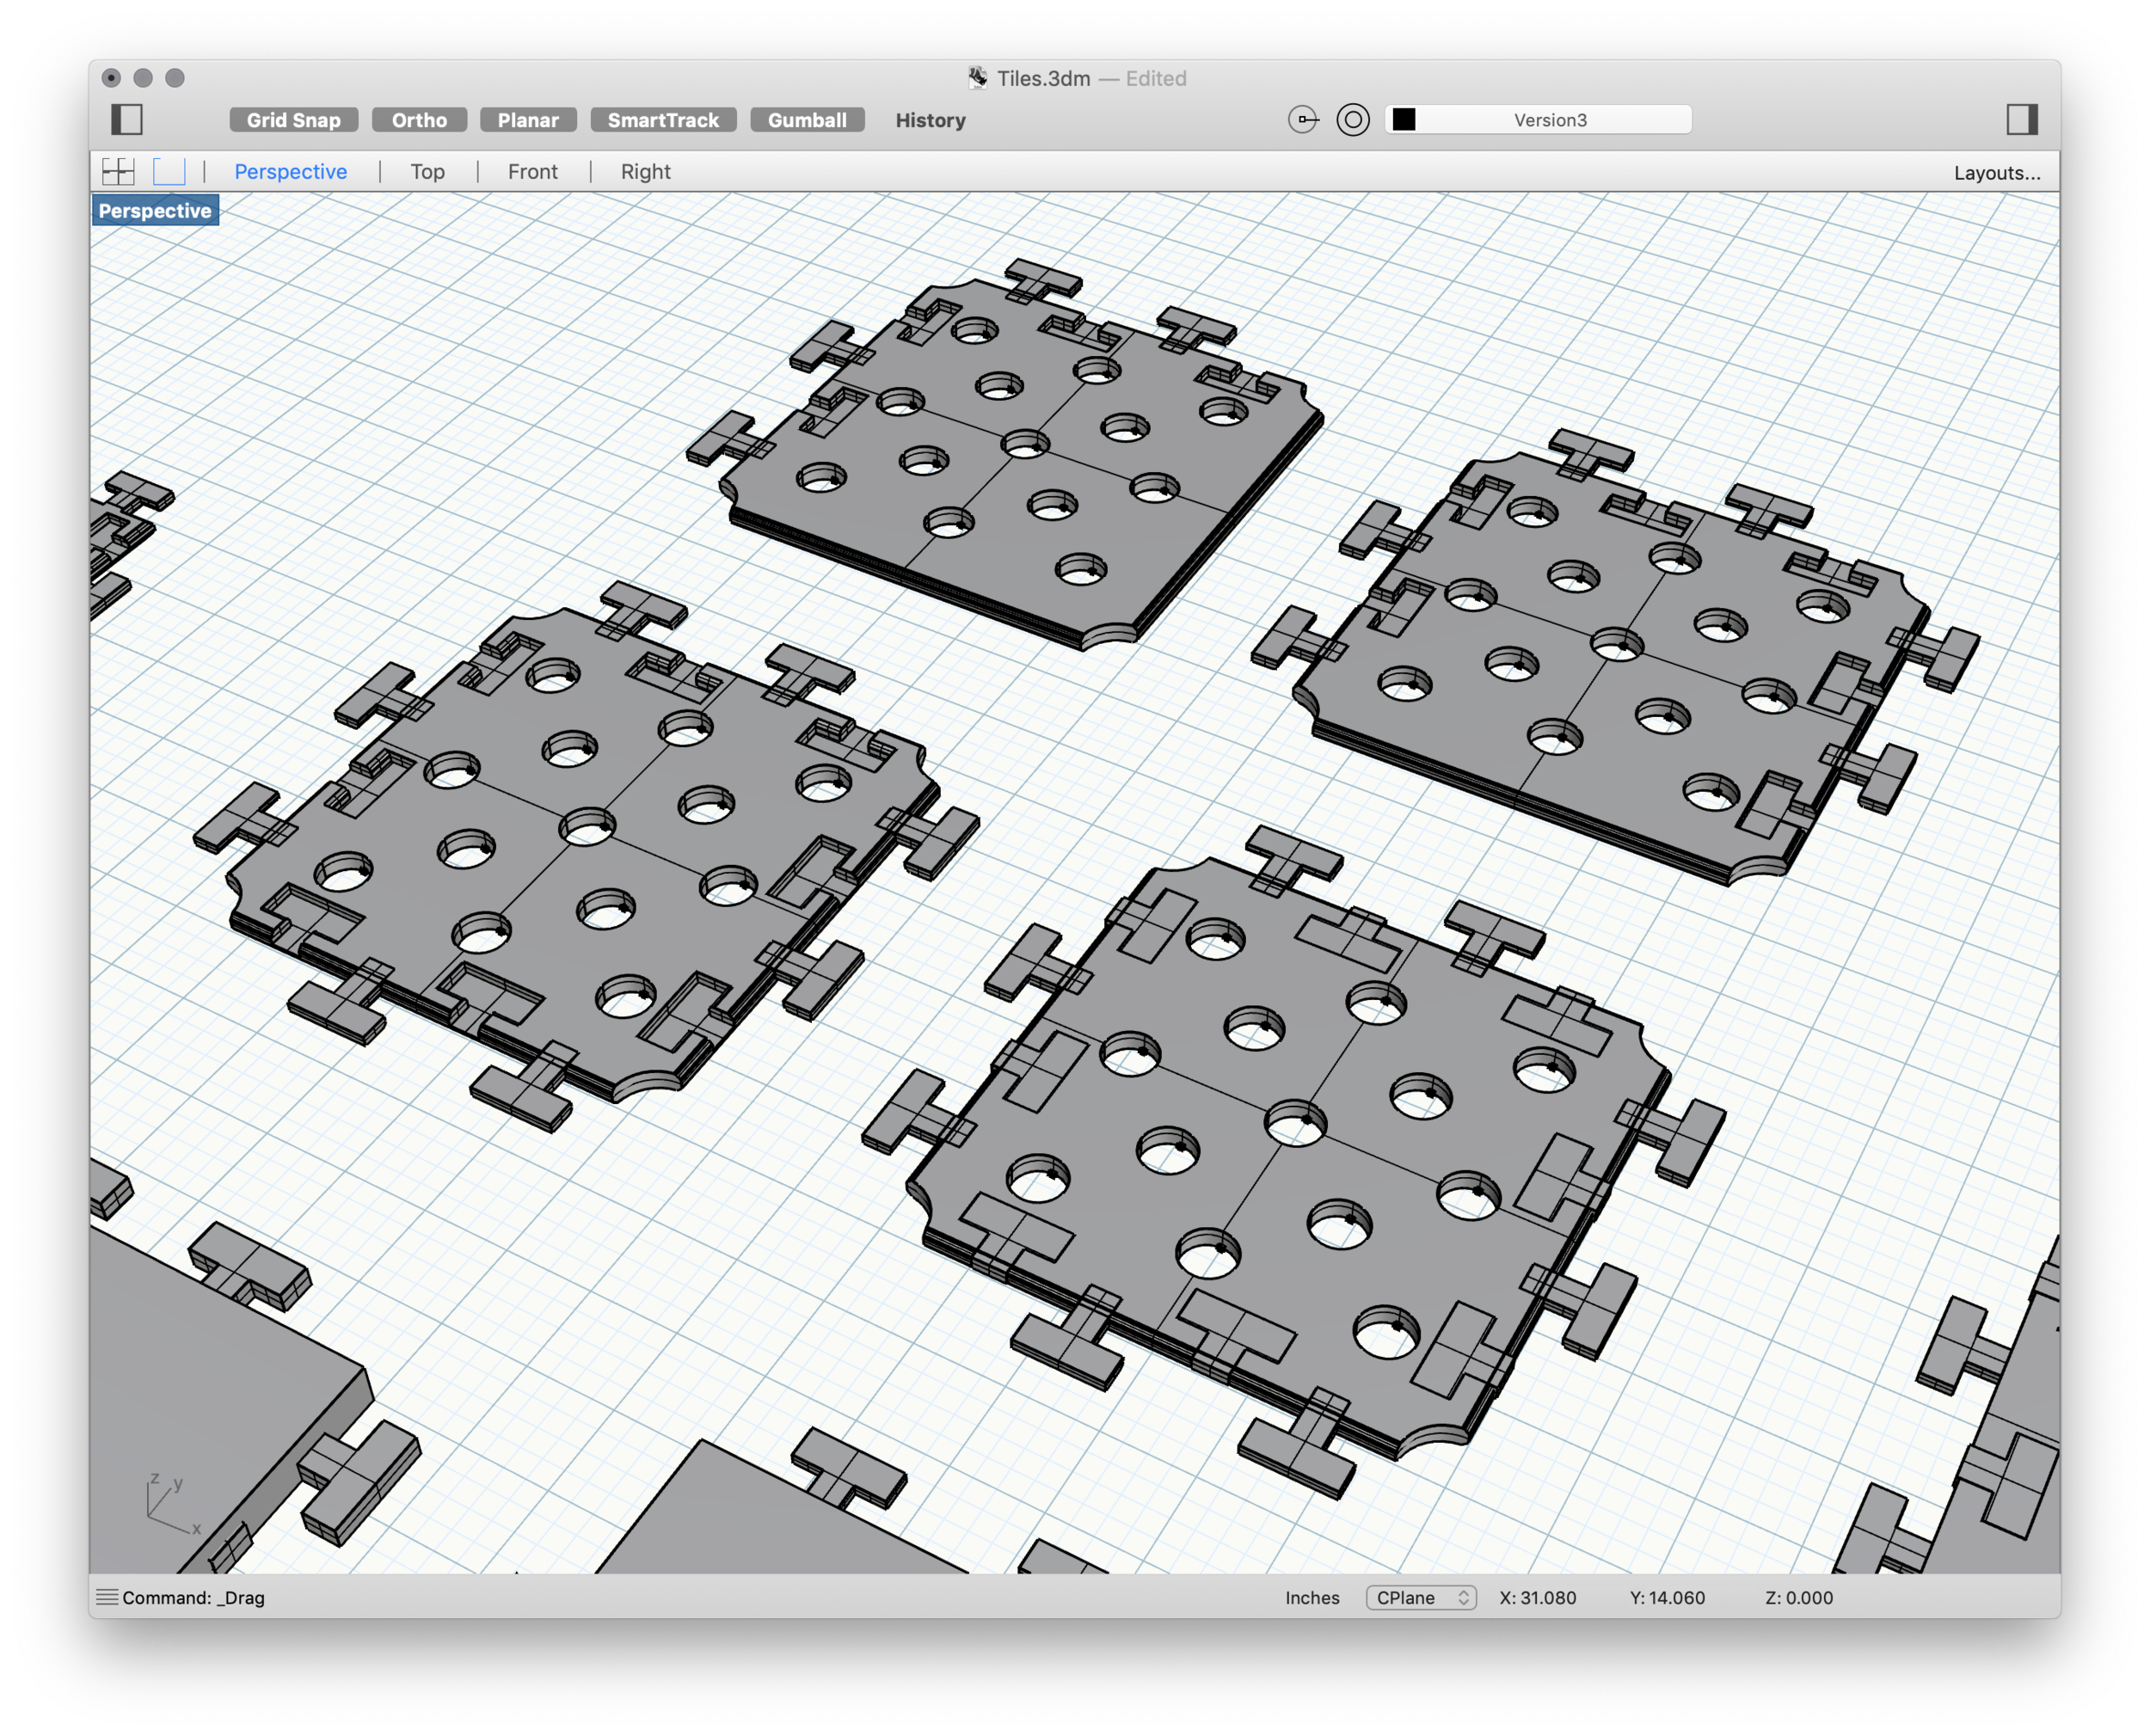
The trickiest part of this project to figure out was the interlocking system for the tiles. I needed something that could be easily taken apart and put back together one handed, but I also wanted something that would stay together when turned over. I was inspired by a previous failed print that interlocked smoothly.
Conceptual Prototyping
To make sure my idea would work conceptually before taking the time and resources to CAD and 3D print, I prototyped with laser cut cardboard first. I cut the shape and layered it with a square back to make the general shape of the tiles I was looking for. This worked for the most part, so I proceeded with CAD.
CAD
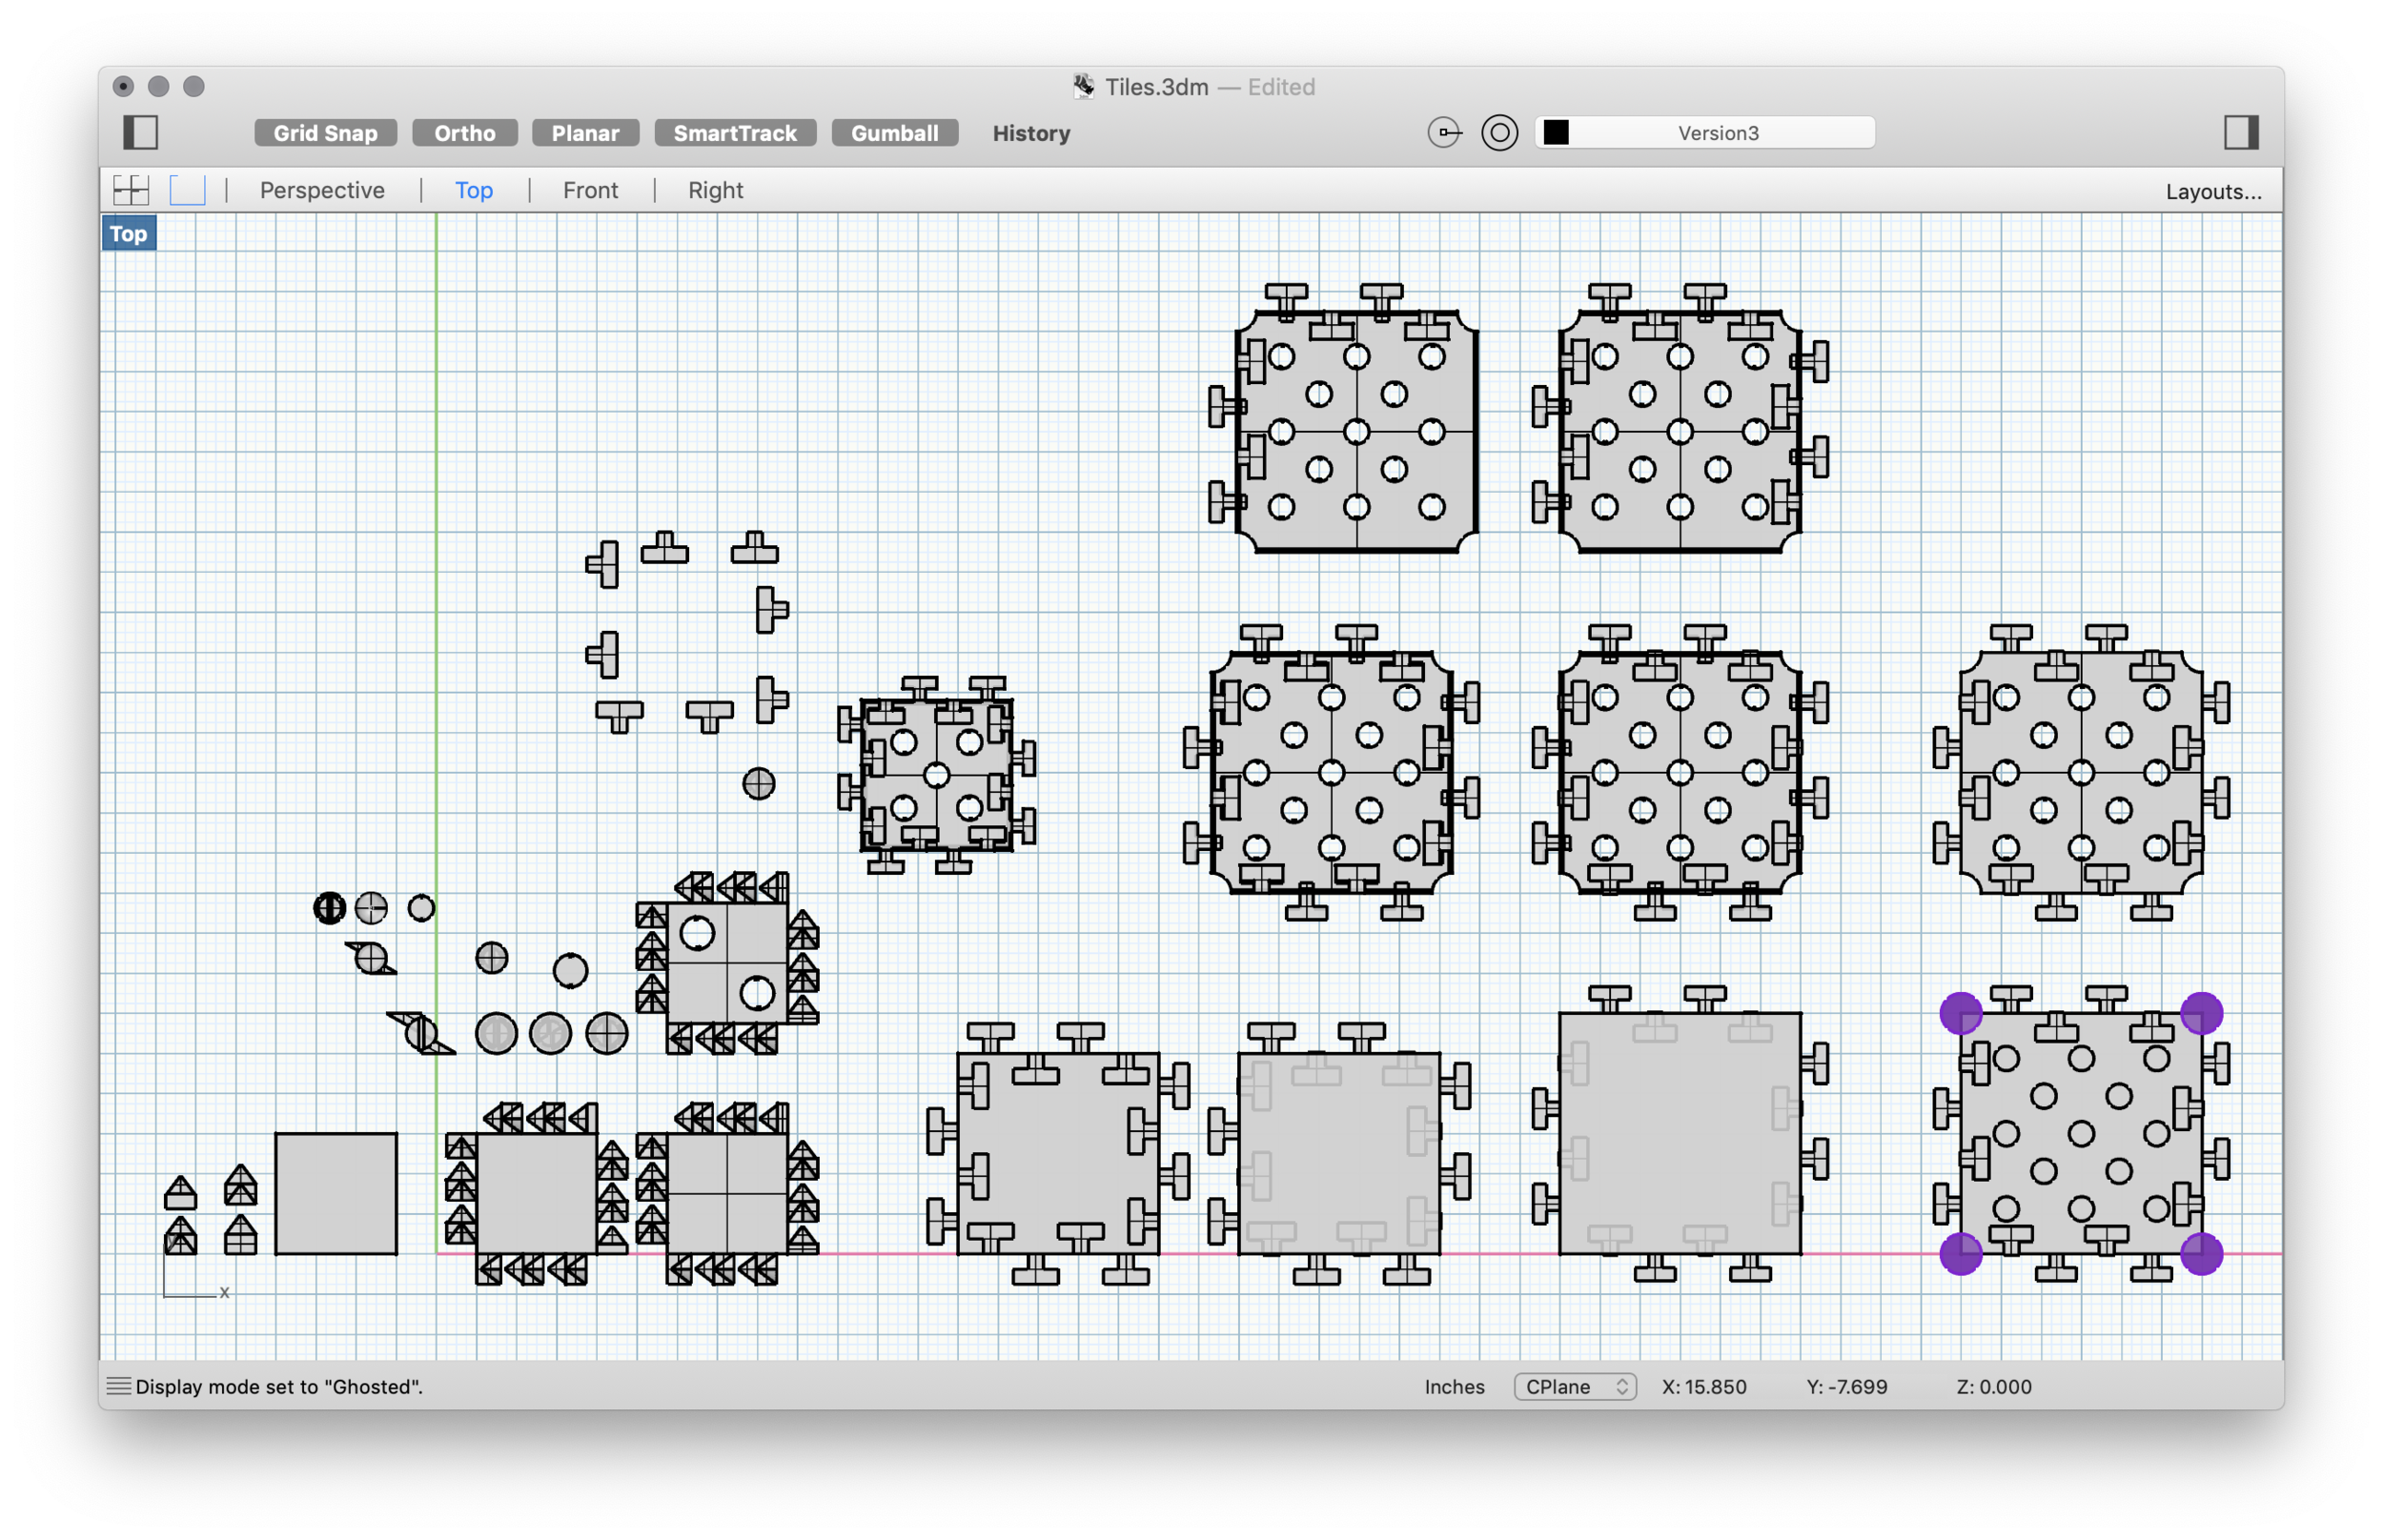
I started by making a few different small models to test what would work best, then I scaled up once I found a shape I was happy with. The perspective view is the final shape of the pieces before being printed.

